I have to admit, I was at a bit of a loss this week in terms of inspiration for my project; video/pixel manipulation isn’t something I find particularly exciting. That, on top of the request that we “try not to make a Danny Rozin video mirror for the project,” made this week’s assignment a bit rough.
For inspiration, I rewatched some of the Daniel Shiffman assigned videos and retook a look at the source code examples. My favorite video example was the Brightness Mirror, so that’s where I started. I followed along with the video examples and then modified the code to create different effects.
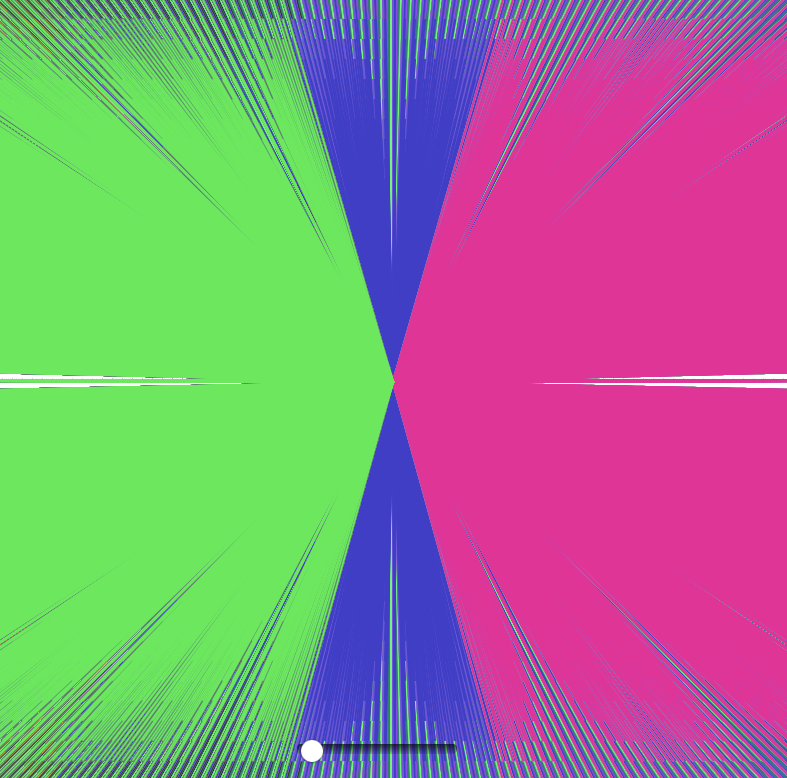
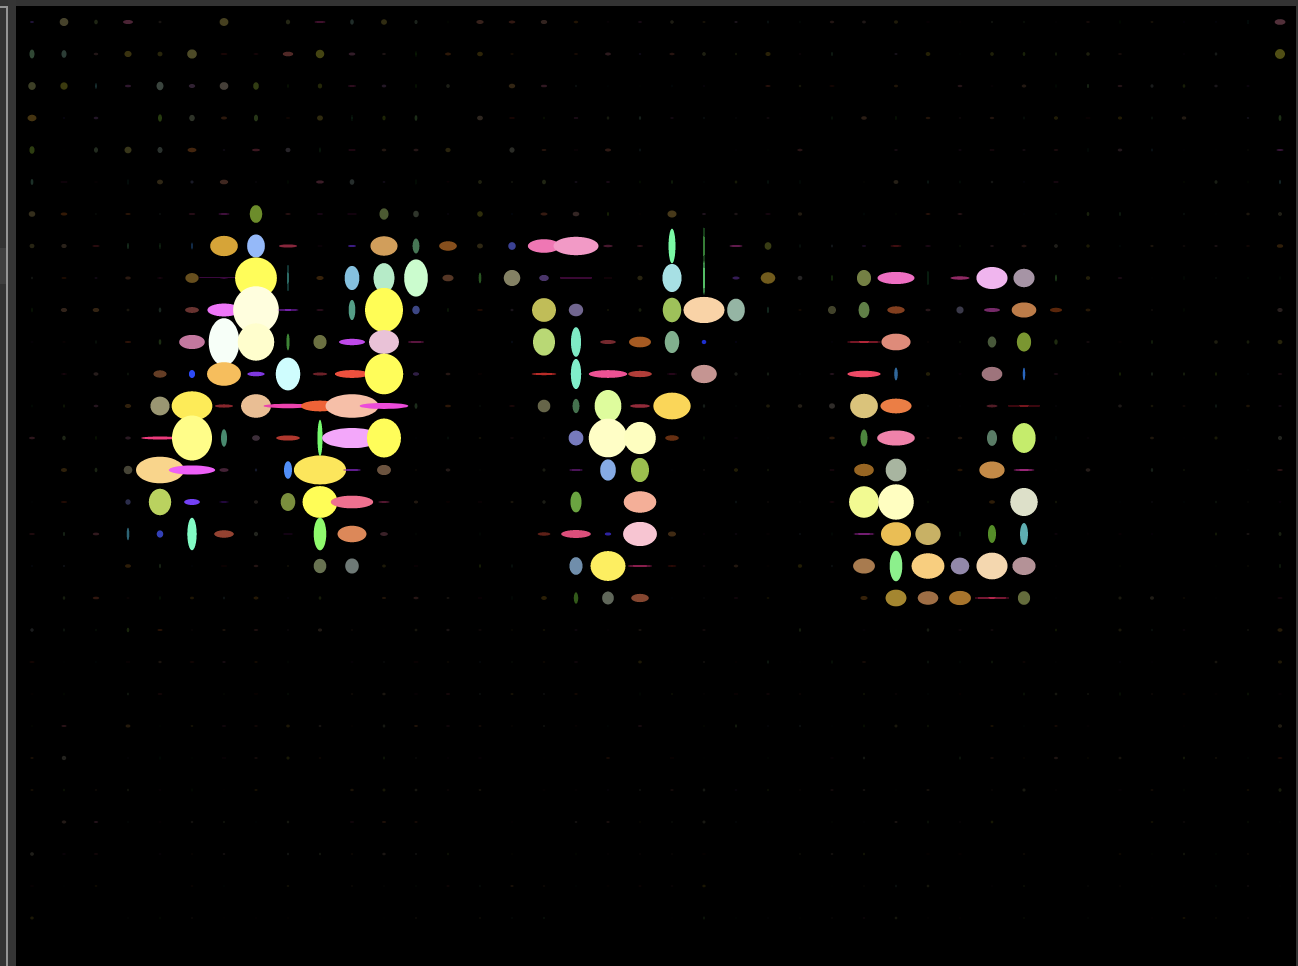
One of the effects that I did changed the the color scheme of the brightness mirror. I also changed the code from the rect() function to the ellipse() function to give the mirror a different feel. Here’s an example of a colorful version of the brightness mirror using ovals and circles.
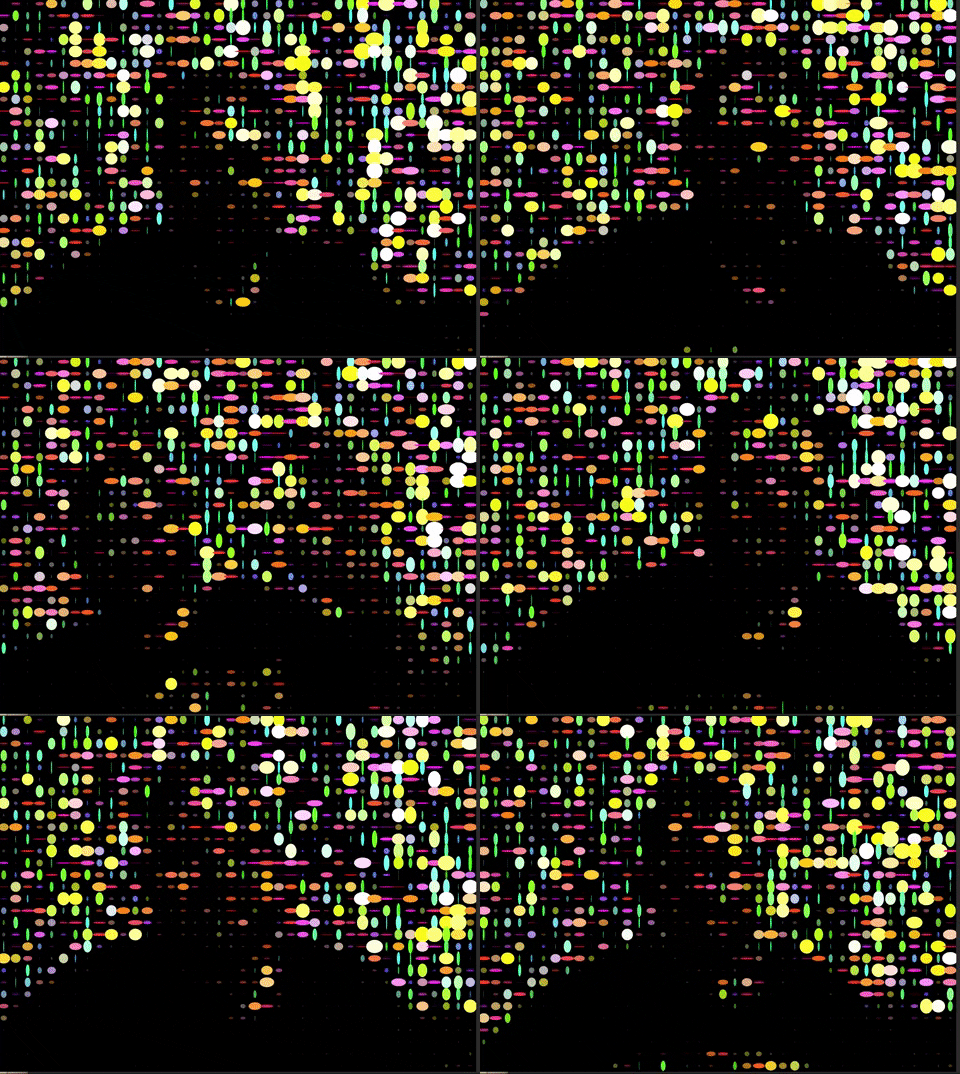
For my final sketch, I tried to come up with a way to make the sketch rendering less about reflecting the image captured by the webcams and more about using the information from the captured images’ corresponding pixel information.
Here’s the code where I did that:
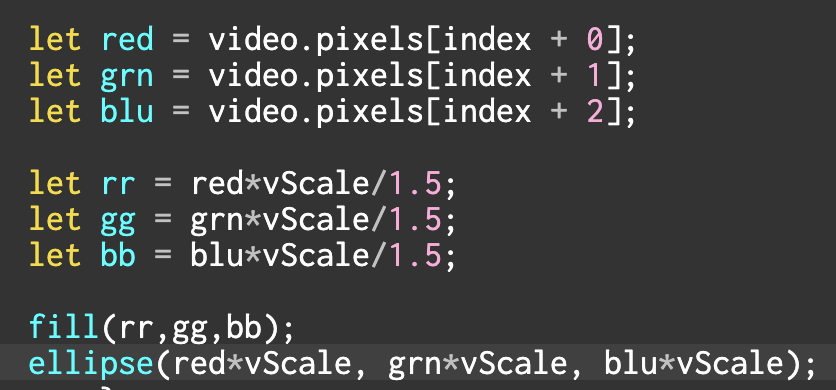
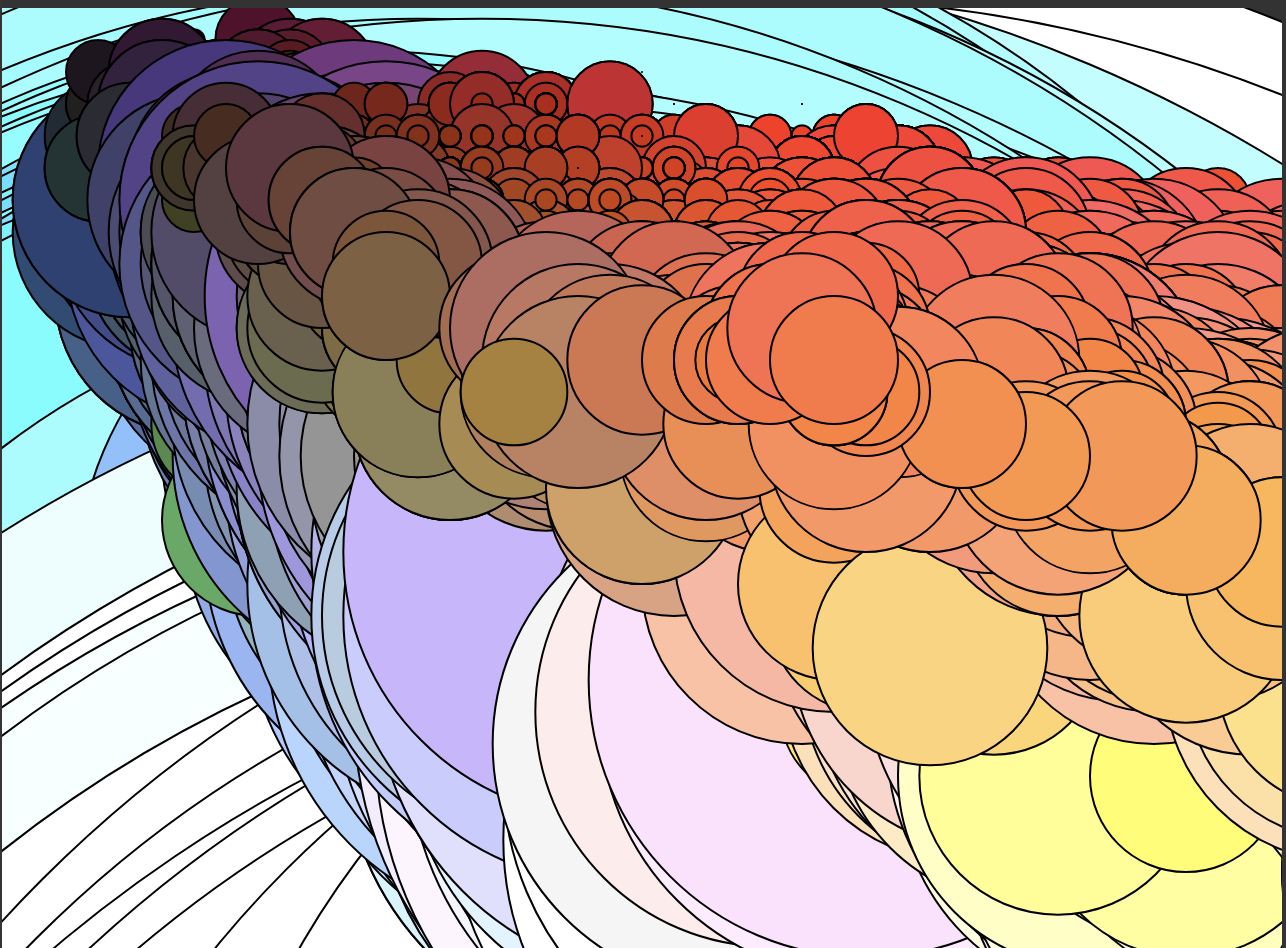
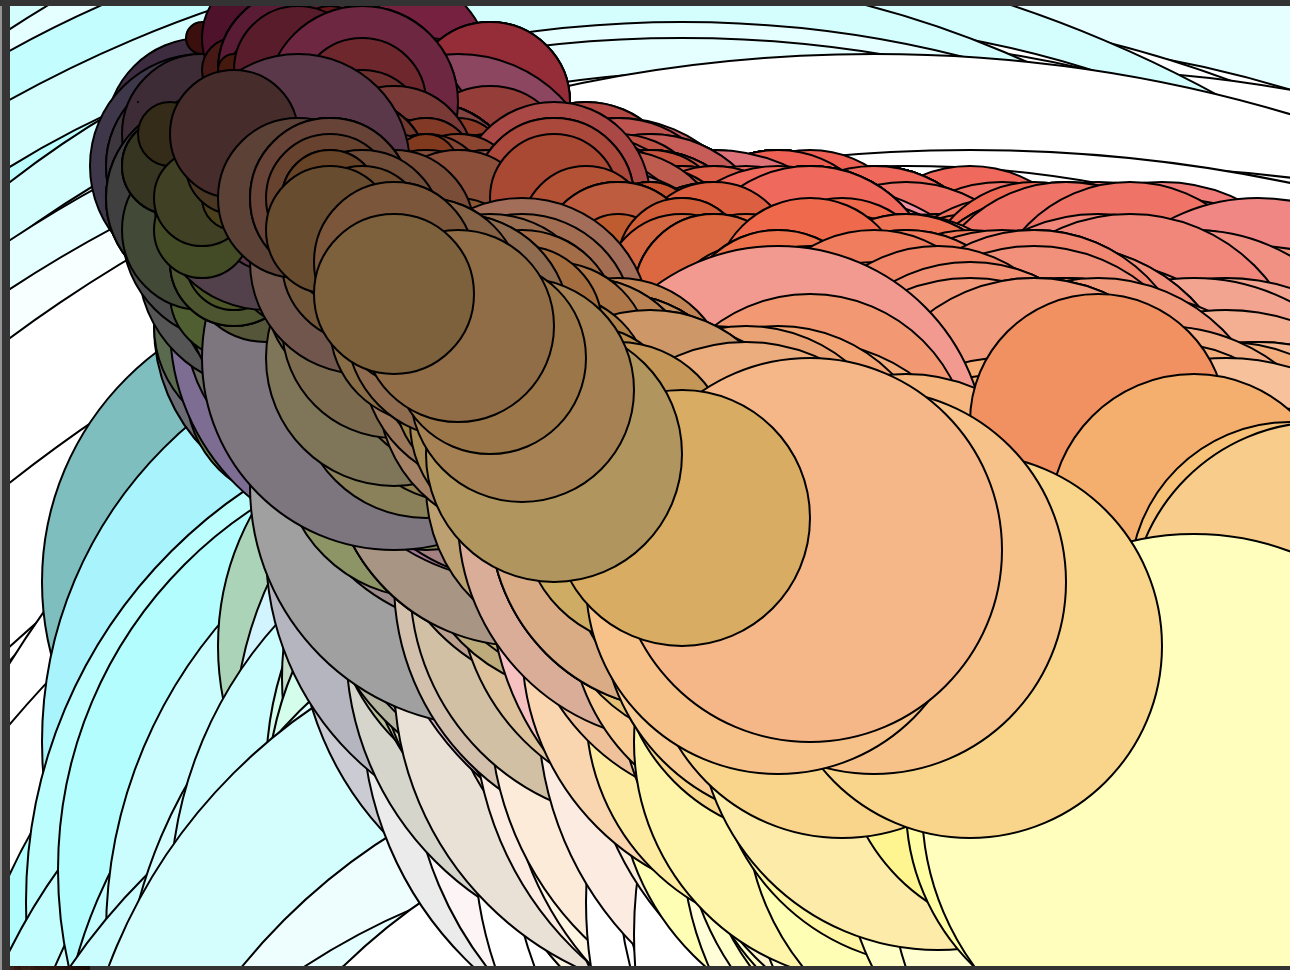
What you’ll see here is that the X location value of the circle is tied to the red pixels in the image. This means that the more red in the image, the farther to the right on the screen the circles will appear. You’ll also notice that the Y location value has been linked to the green pixels in the image, so greener images will have the circles appear lower on the screen. And, finally, the size of the circles is related to the blue pixels in the image, so the bluer the image, the bigger the circle. I also fiddled with the colors to make it so that the R, G, B values in the pixels would be reflected in the colors of the circles.
Give my RGB pixel representation sketch a try: **TIP: try running your finger over your webcam and see what happens!**
