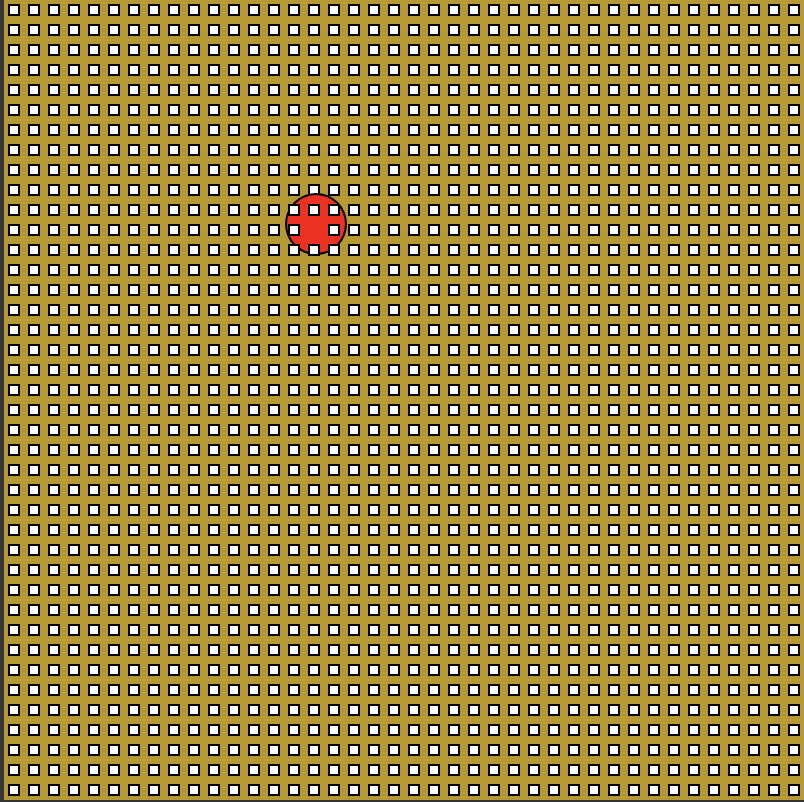
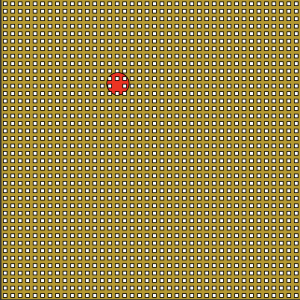
This week, we were tasked with creating an interactive piece of artwork that incorporates repetition with variation. For my design, I decided to create a grid of tiny squares that would appear to have a red ball interweave between the rows and columns of tiny squares. The variation of the artwork would primarily appear in two different ways, by having the background change colors when loaded and by having the grid of tiny squares skip a row/column depending on the layer on which they were drawn.
Here is a link to the code in the p5.js editor for my week 4 drawing.
Once I got the hang of writing the for loops, drawing the grid was quite simple. Using the techniques learned in class for establishing a beginning position for both x and y, then creating step increments, I applied the new variables to the first for loop. I knew that I would need to add the red ball after the first drawing of the grid and that I would need to use the for loops to draw the next rows/columns of tiny squares.
The first set of tiny squares I drew over the ball didn’t seem to give me the effect I wanted. Fortunately, the idea of the ‘i’ increasing with the for loops was explained well in class… this helped me quickly realize that if I wanted the next for loops to behave differently, I should use different variables. The initial grid, I had used ‘i’ and ‘j’, so later I used ‘m’ and ‘n’, then ‘q’ and ‘w’, to create the illusion of depth.
To test myself, I wanted to see if I could remember the way to best create a random background color without having it flash constantly. Determined not to copy from my notes, this took me way longer than I’d care to admit to get right. Equipped with the rule of “Don’t use random in the draw() section” if you don’t want the colors to cycle continuously, I knew I had to 1) establish the random colors BEFORE the draw() section and 2) call the background() in the draw() section.
I remembered what we were taught about using the noise function to create a random number that’s consistent throughout the drawing (which is what I wanted); however, I was determined to create the same effect, using my understanding of the principles I just mentioned in the paragraph above. Unfortunately, I kept getting a black/gray/white background for the longest time; it took me a while to figure this out. I was coding in the setup() section bgCol = (bgR, bgG, bgB) then calling “bgCol” as the color for background(), i.e. background(bgCol); I’m fairly sure that the reason I kept getting a black/gray/white color was because bgCol was being calculated as one number in the setup() section.
In the end, I’m really happy with my design. It’s simple, fun to play with, and eye-catching!
P.S. For a last-minute add on, I included a slider that allows the user to adjust the size of the ball within limited parameters (10-50); defaulting in the middle to the (my) preferred size of the ball, 30.

