Week two of class we learned about circuits, as well as voltage, resistance, and current. I found the class to be particularly enlightening in the sense that I had heard all of these terms before and vaguely remembered sitting through high school science class, but now I had a vested interest in understanding what they were and how they related to each other. I found the breadboard examples that were presented on the large screen to be more confusing than helpful because the connections were hard to discern from the video being displayed. I’ll admit, as much of a good mood as I was in going into my P Comp section, I was grumpy and frustrated leaving the class.
While on break for my class immediately following P Comp, I went ahead and made office hours. I have to say, those were seriously the best two and a half hours I’ve spent at ITP so far. I was able to get a better understanding of concepts I loosely grasped; that’s not to say I completely get what all is going on or that I won’t need to consult Google before finishing my next assignment. The session not only left me more confident that I was where I needed to be in understanding the essential principles of where we are in P Comp, but, after a taxing first couple of weeks, the time spent with my professor considerably reinforced that I chose the right program and am in the right place. (Thanks, David.)
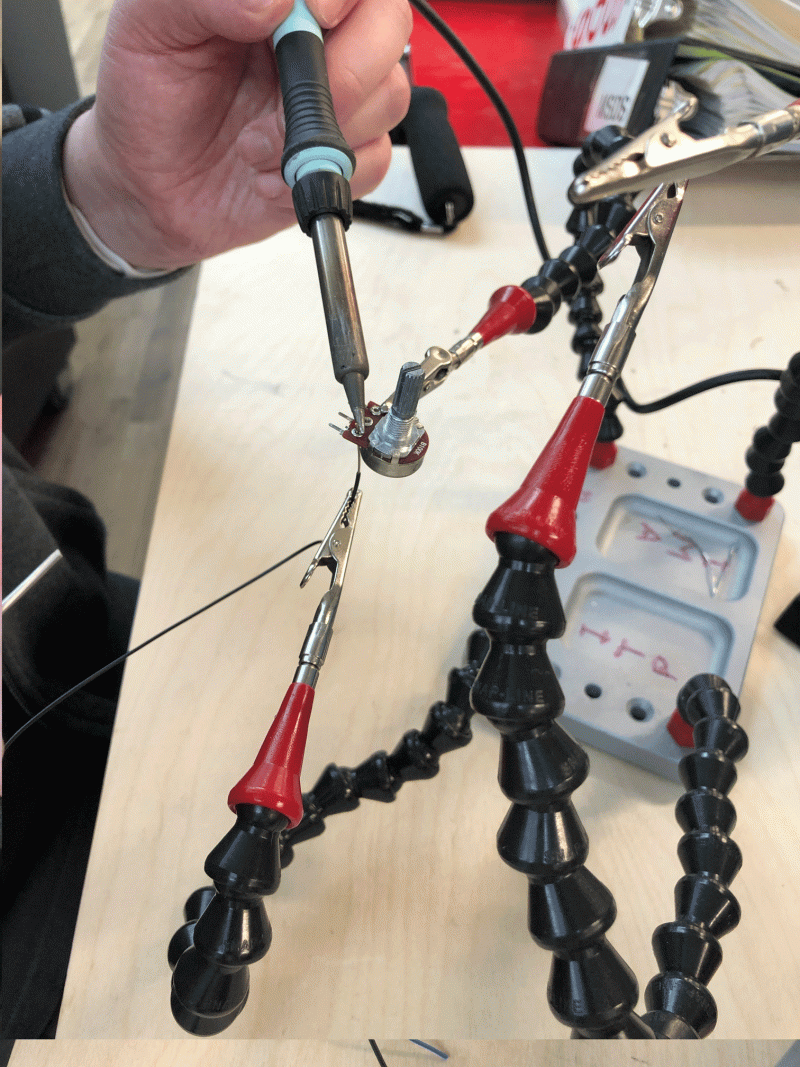
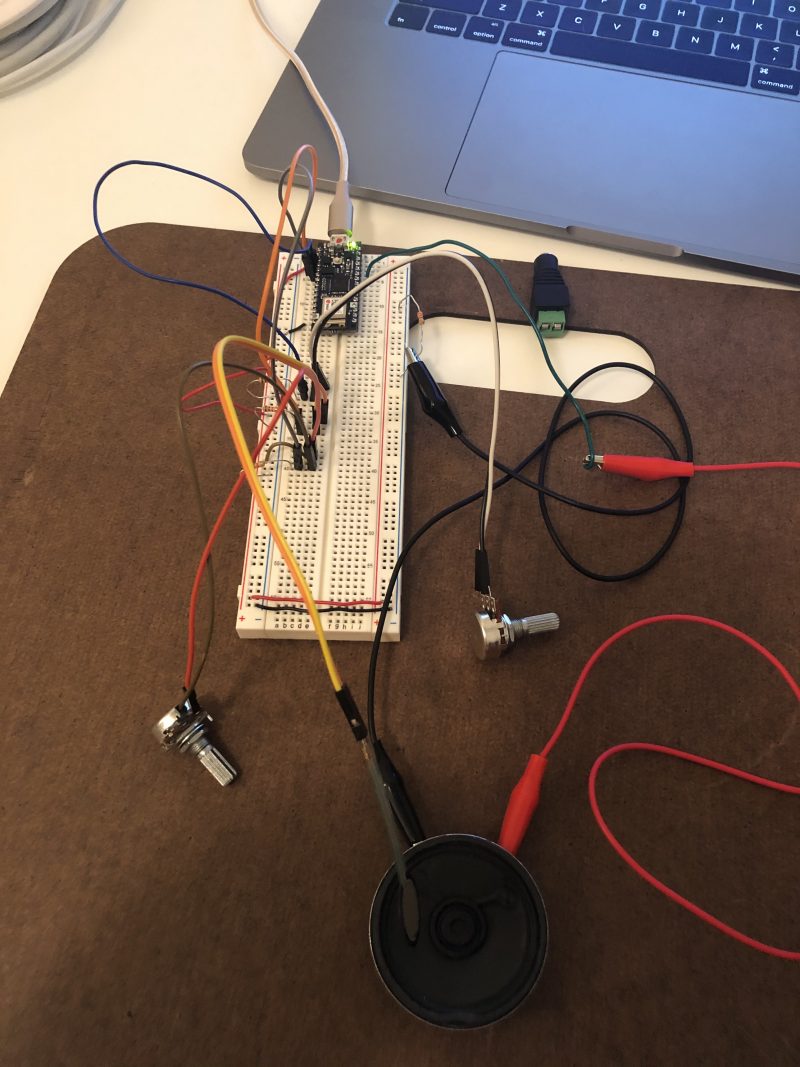
In addition to the conceptual stuff, we went over the material for this weeks’ labs. I was able to get a really good explanation how a potentiometer works, which I really appreciated. I definitely made some serious rookie mistakes when hooking up my circuit on my breadboard–I wasn’t connecting the cables in the proper places–but, in the end, I was able to successfully complete the labs.
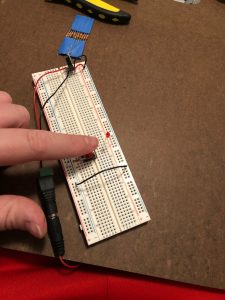
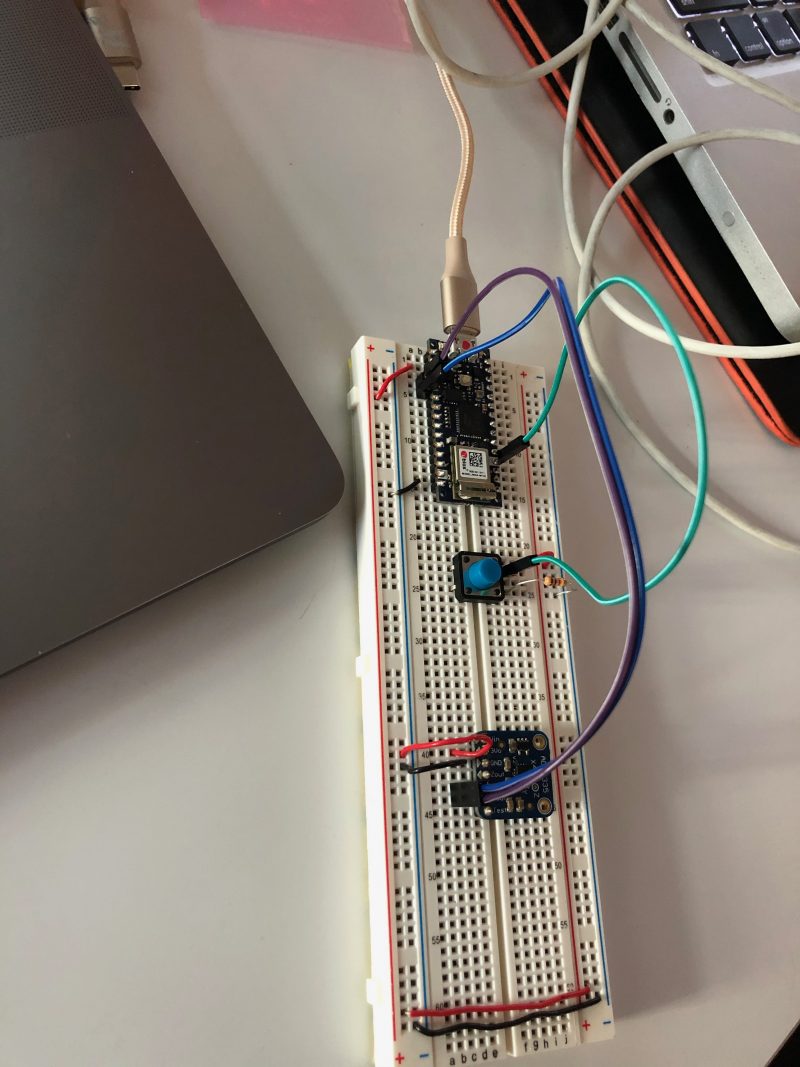
When I got back home, I went over the labs stuff again. I completed a simple circuit, but added a tactile push button switch. From my session earlier in the day, I already knew which components to use with my breadboard–a voltage regulator (to convert my 9V battery to output 5V), a resistor & an LED (or two LEDs), and a few wires. Initially, I hooked the wires up in the wrong spots, but, fortunately, I had just made a similar mistake a few hours earlier and easily corrected my mistake. In this case, I was off by a row with one of my cable connections. It was a simple fix and within a few minutes of pulling out my tool box, I had a working circuit with an LED and a push button switch!
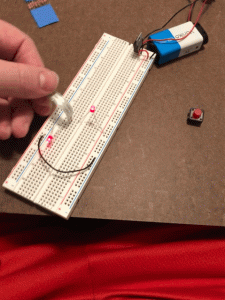
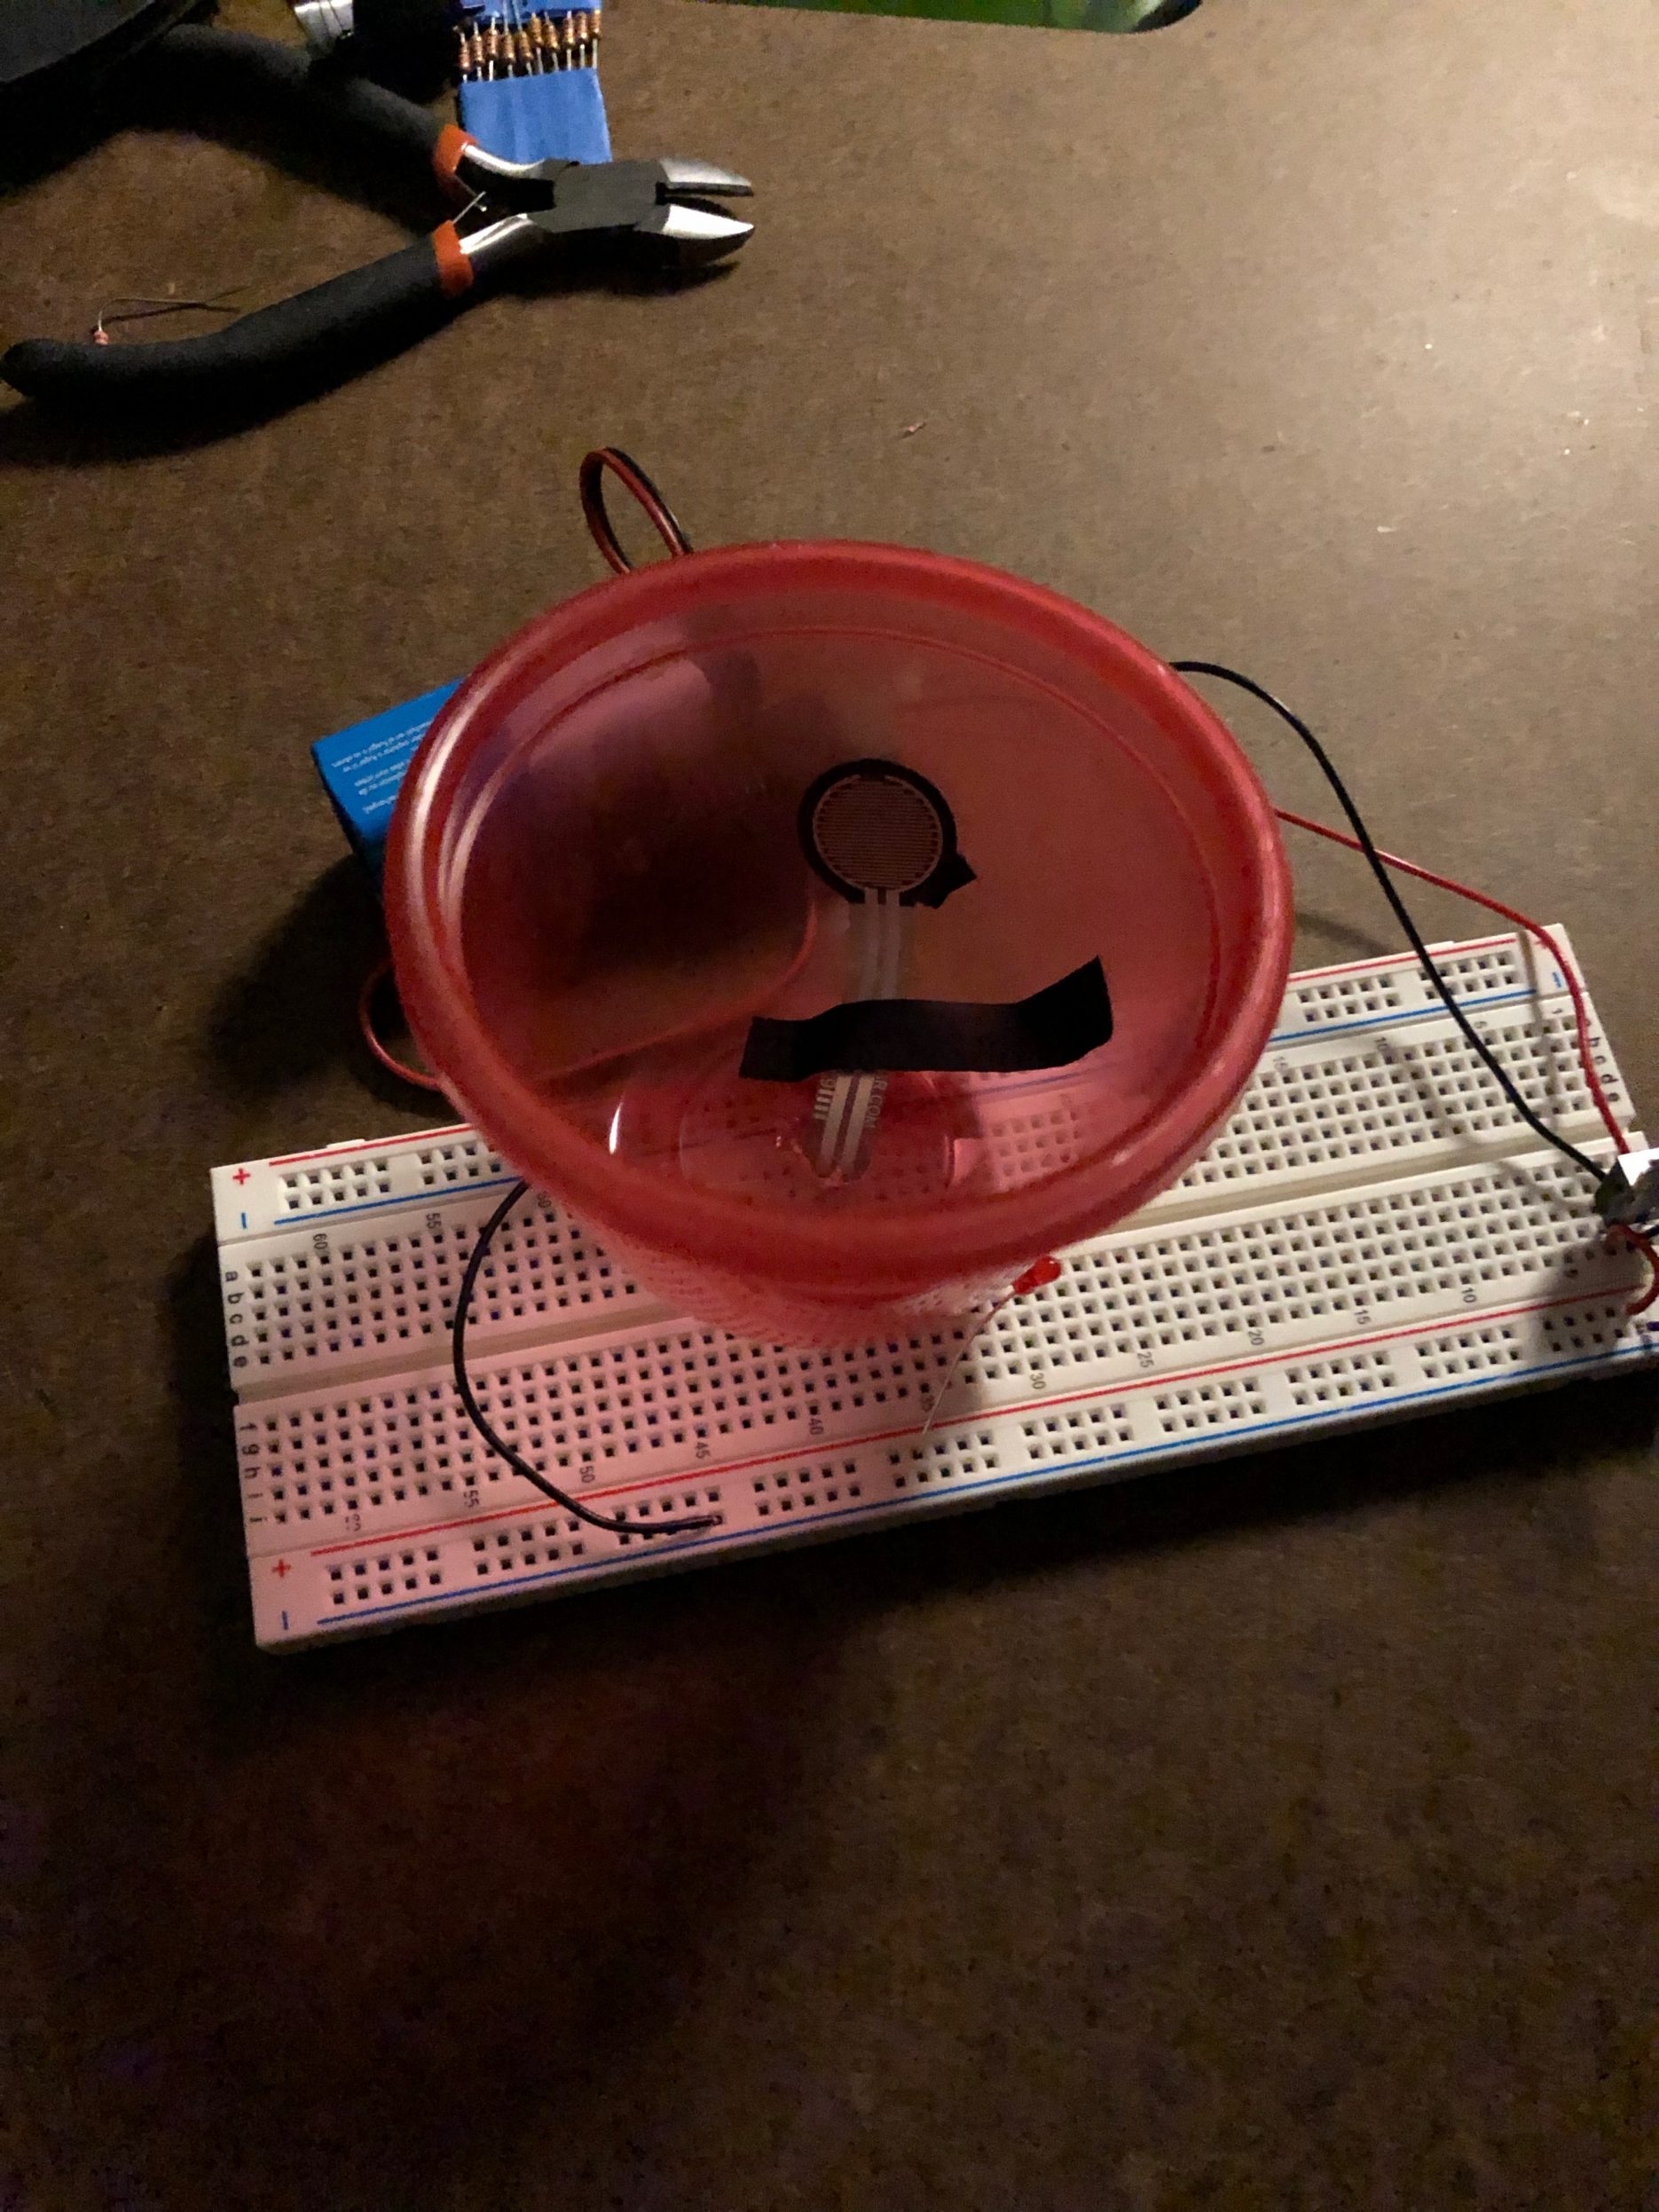
Next, I decided to come up with an application for the switch and the LED. My original plan was to use a pressure sensor under a cover plate in a bowl that would complete the circuit when weight (food) was added. The completed circuit would light up two LEDs that would be built into a designed cat head where the LEDs would the eyes; when the cat was fed (weight/pressure added to the bowl and closed the circuit), the cats eyes (LEDs) would light up.
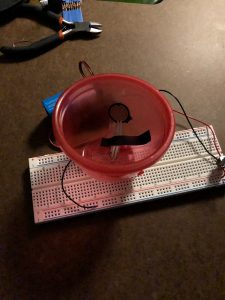
After more closely inspecting the components available to me and realizing that I’m not able to solder, yet, I decided that project was a bit too ambitious for my skill set. In the end, I created a bowl that, when weight was added to it, two LEDs lit up. (For the record, because the LEDs’ voltage is approximately just over 2V each and I used the 5V voltage regulator, my circuit consisted of the two LEDs at the loads without any resistors. Even pulled out my multimeter to test the voltage of a few of the components.
As far as an application for this, my thought was that this idea could serve as a useful device for those with busy schedules who have pets. Specifically, the bowl could be used to help pet owners keep track of when their pets were fed. The bowl would have a pressure sensor that would close a circuit when food was added to the bowl. Ideally, the sensitivity of the pressure sensor could be adjusted to monitor the amount of food in the bowl–either to keep track of how much food pets are eating or to make sure the pets are being fed enough/often enough. Instead of the LEDs, the load could be a WiFi connected device that would send the info to the pet owner so s/he can know whether a family member or pet sitter is properly tending to the pets. Each pet could have a bowl and this info could be monitored remotely.

