This article was designed around showing off (and how to use) a few tips, tricks, and features—two little things and a big thing—in Apple’s newest operating system for the iPhone, iOS 14. This was written specifically created with baby boomers, such as my parents, in mind; that said, these are good-to-know for everyone… besides, who doesn’t know at least one baby boomer with an iPhone? If you’ve got an iPhone 6s or newer, you’re able to upgrade to this operating system and will want to first, if you plan on following along. That’s all you’ll need to do for this, though—just upgrade to iOS 14!
The helpful new features we’ll be looking into are:
The App Library – The App Library is a new space at the end of your Home Screen pages that automatically organizes all of your apps into one simple, easy‑to‑navigate view.
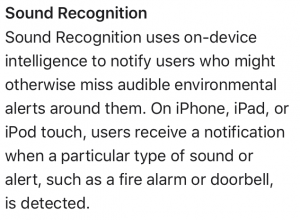
Sound Recognition – Sound Recognition uses on-device intelligence to notify users who might otherwise miss audible environmental alerts around them. On iPhone, iPad, or iPod touch, users receive a notification when a particular type of sound or alert, such as a fire alarm or doorbell, is detected.
Widgets on the Home Screen – Place Widgets anywhere on the Home Screen for information at a glance. Perfect for tracking your commute, activity, Calendar events, or News stories.
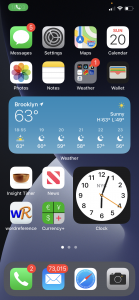
After many, many months of development and testing, iOS 14 was released this September! I’ve picked out a few things I felt my mother, who’s been 29 since the late 70s, would benefit most from adopting into her iPhone setup and, considering how much she’s now on the thing, her digital life. I’ll start with the easiest of the things you should be aware of in iOS14. It’s already on your Home Screen; just keep swiping left until you hit the end of your pages of apps & bookmarks and you’ll see it!
THE APP LIBRARY
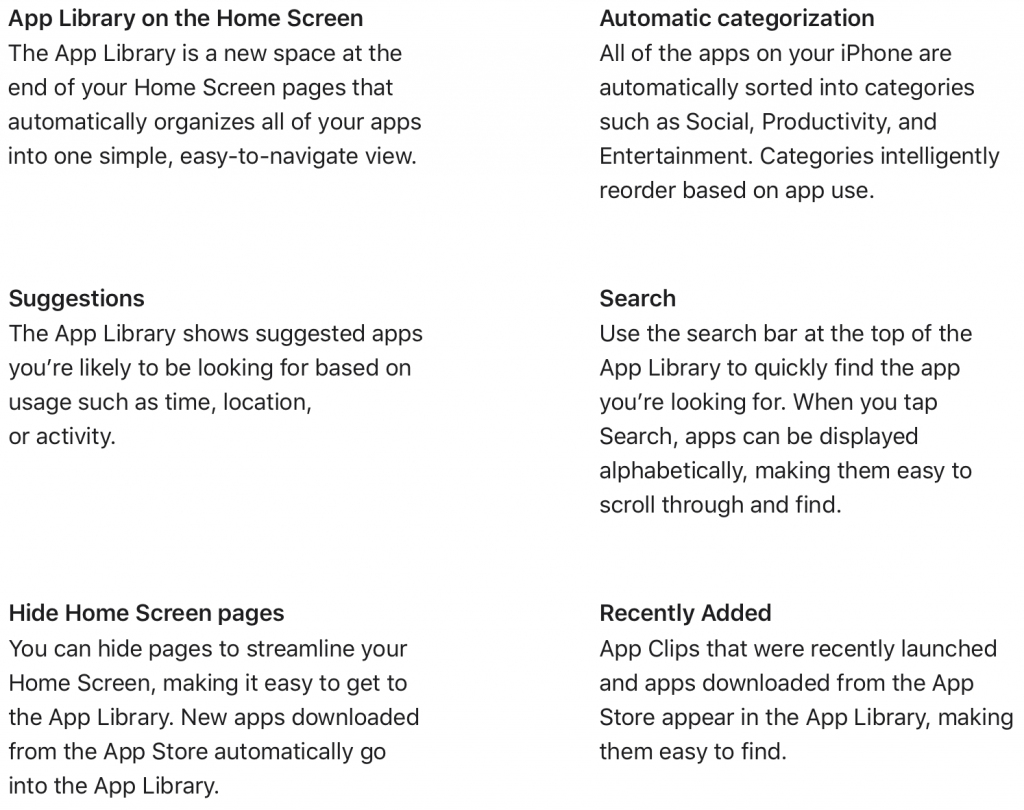
What? The app library is a new space added to the end of your Home Screen to help you more easily find your apps and stay organized. It’s one of several new additions to the iPhone’s Operating System (hence iOS.) If you’re feeling very adventurous and are tired of pages full of apps and bookmarks, check out the new “Hide Home Screen Pages” feature!
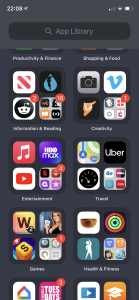
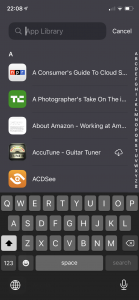
How? Just swipe left until you read it. You’ll see a bunch of sorted, suggested apps for you. Just touch to open—you know the drill! If you can’t find what you’re looking for, hold you finger on the screen and pull down. You’ll be able to search for what you’re looking for or scroll through the list alphabetically to choose the app you want.
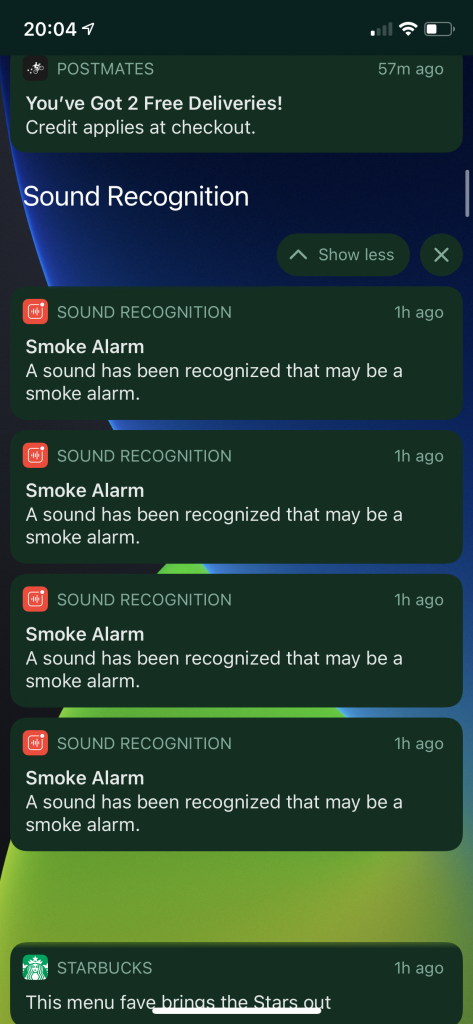
SOUND RECOGNITION
“WHAAAT?” If you’re like many baby boomers, you’ve likely experienced some hearing loss over the decades. Sound Recognition is hear (pun-intended) to help! The feature is a new part of Apple’s Accessibility offerings designed at helping the hard(er) of hearing by altering them of sounds they may not pick up on, such as fire and smoke alarms, knocking at the door, and even barking dogs.
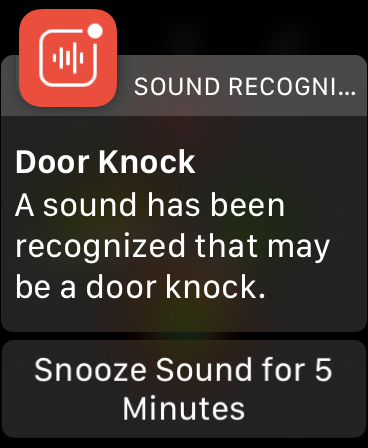
For example, the notification above shows a screen shot of my Apple Watch’s notification through Sound Recognition altering me that someone was at knocking at the door (I *thought* I’d heard a knock… it was the neighbor’s door.) Similarly, when I, yet, again, set off my fire alarm using the “smokeless” grill, I was altered to it going off, both on my Apple Watch and iPhone. I had just been outside watering my tomato plant, so I already seeing the potential benefits of the alerts.
How? So, this one involves a few steps, but it counts as one of my two “little things” since it’s basically turning on a feature. Here’s how we do it:
1. Open Settings (It’s the app with grey gears.)
2. Scroll down to Accessibility or you can hold your finger on the screen and pull down to reveal the search bar on top to search “Accessibility” (There should be a blue square icon with a white figure in the middle surrounded by a circle.)
3. Scroll down to the section titled HEARING.
4. Tap on Sound Recognition (There’s a little red square to the left of it.)
5. Tap the sliding button to the right to turn it on. The slider button will turn green when on.
***DO NOT BE ALARMED*** You will see a note asking you to turn off ‘Hey, Siri’; however, you can still access your close friend and personal typist, Siri, by pushing the button on your phone, as usual. When you turn this off, the ‘Hey, Siri’ feature will turn back on automatically. (What’s “Hey, Siri” you ask?)***
6. To continue, hit “Turn on Sound Recognition” to turn off ‘Hey, Siri’ and use this feature.
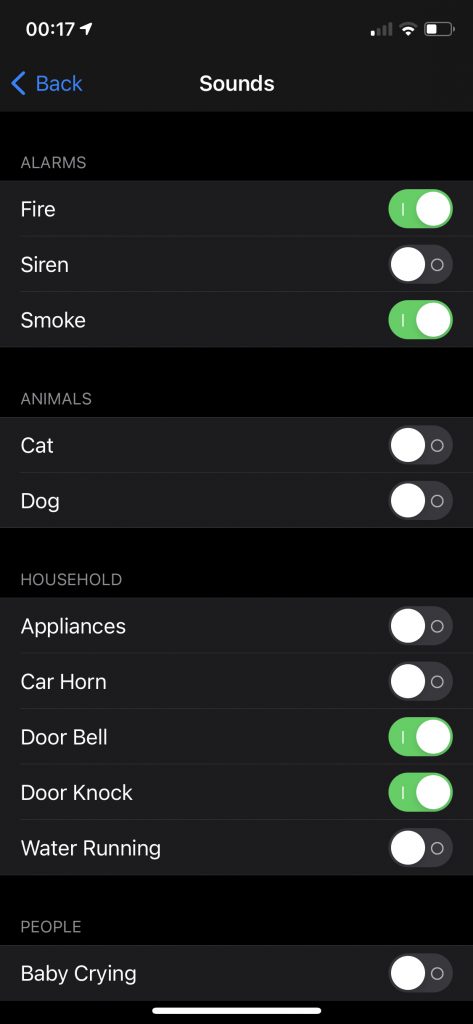
7. Below the “On” slider button, you’ll now see a “Sounds” option; tap it.
8. Just tap the slider buttons on the sounds you want to be alerted to.
9. When you’re done, you can return to the Home Screen.
WIDGETS ON THE HOME SCREEN
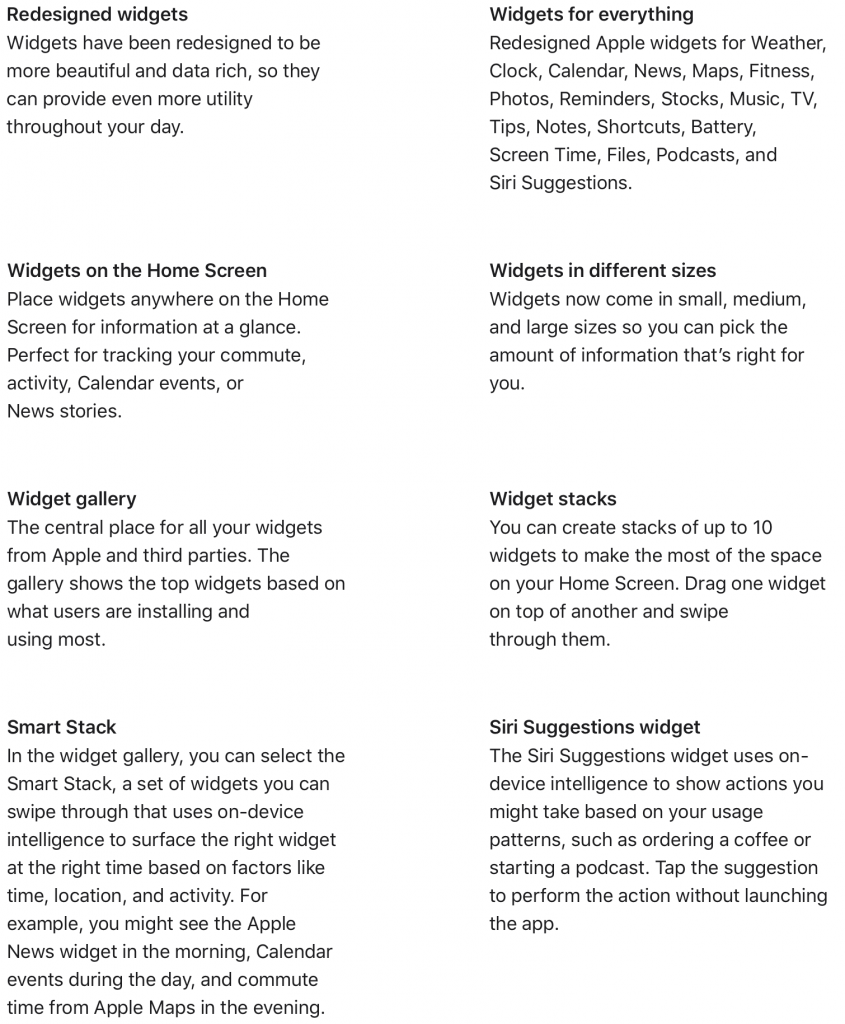
What? Our Big Thing! You may have noticed some larger-than-normal looking apps on my screen shot at the beginning of the article. Well, they’re not apps, they’re Widgets, which have been redesigned for iOS14 and given the ability to be added to the Home Screen.
If Widgets in relation to your iPhone sound familiar, it’s because they’ve been around for a while. When you’ve swiped to the right from your first Home Screen, you’ve probably seen them—with Weather or Reminders, possibly. Now, Widgets have a new look… and, you can put them where you can see them more often, directly on your Home Screen! Depending on which ones you decide to choose, you can have a large, easy to read clock on your Home Screens, or be reminded of your friends and family from shuffled images via the Photos Widget, or even keep track of how far behind you are on your Activity Rings through the Fitness Widget!
How? Press and hold anywhere on your Home Screen until the apps go into ‘Jiggly Mode’ (Yes! That’s the technical name for it!) When the apps have little ‘-‘ (minus) signs next to them, you’ll see a ‘+’ (plus) sign in the upper left of your screen.
- Tap it… and be Amazed… but not overwhelmed; you’ve got this. (If long pressing doesn’t work and you see a small menu pop up next to where you’re pressing, select “Edit Home Screen”.)
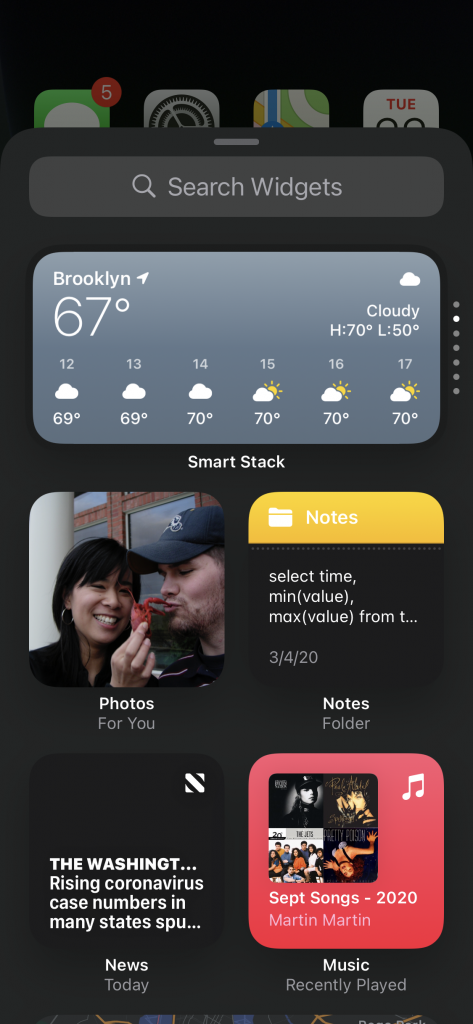
- You’ll be able to pick from a bunch of different Widgets, with different shapes appearing up top and a list of supported apps with Widgets below. TAKE NOTE: These images you see (squares and rectangles) are just ONE representation of the Widgets you see.
Click on one and try it out. You’ll see you can pick different sizes, which will occupy different amounts of space on your Home Screens and, correspondingly, show different levels of detail. I recommend starting by selecting the top Widget, which should say “Smart Stack” below.
Here’s what to do:
- Pick the size you want.
- Then click “+ Add Widget” at the bottom. It will place the new Widget on the screen you were on, which will still be in Jiggly Mode.
- While in Jiggly Mode you can move around the Widget just like you would apps. You’ll notice you can only move the Widgets to certain places on the screen, but there is quite a bit of flexibility.
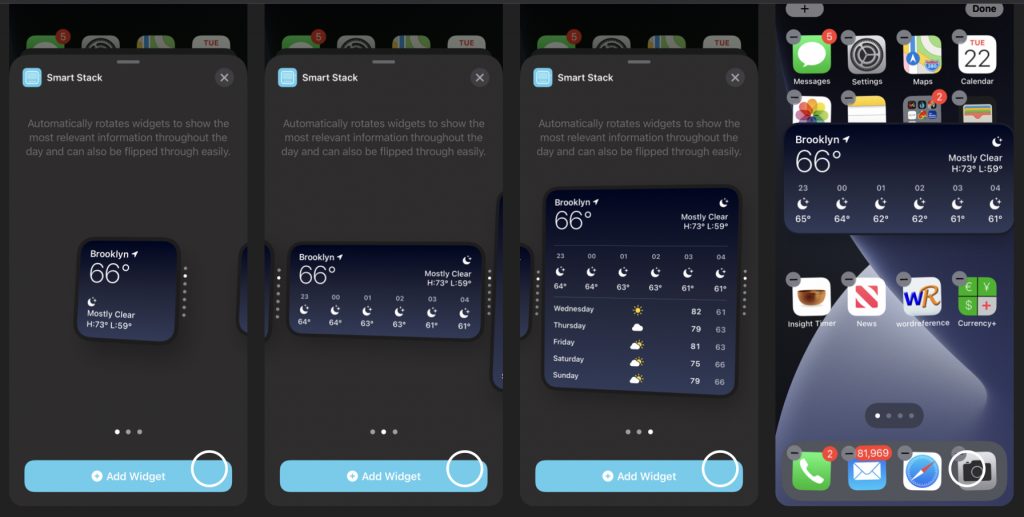
Smart Stacks will display Widget info for different apps whose info is available to the Widget. Once you’ve installed it, you can tap on the Widget to go directly to the app that is being displayed. You can also scroll up and down to go between the Widget’s app’s info, like a slide carousel. If you don’t want something to appear in the carousel, you can remove it.
While in Jiggly Mode, if you tap on the Widget, it will let you see and modify any options available to you for that Widget. If you want to move around the order in which items appear in the Widget, line items will appear. Simply press on the three lines to the right of the item you want to move and drag it to the position you want. Like with many things on your iPhone, you can delete an item by slowly swiping left on it until the word “Delete” appears in a red box and then tapping “Delete”.
Depending on the phone you’re using, just swipe up or press the Home button to exit Jiggly Mode. You’re done!
I hope you’ve found this useful. If you have any questions or suggestions, I’d love to read about them below in the comments section. These are pretty big parts of iOS14, but you’re finding that the screens don’t match up, it’s possible there’s been an update. For reference, I’m using 14.0. I hope you enjoy using iOS 14 as much as I do!